In software development/programming related projects, much of the time making a mistake can feel like the end of the world, or at the very least a major inconvenience to everyone else around you. Yet by failing we often tend to learn more than we do by succeeding, since success seems to come most often from familiar and comfortable subjects or ideas which we might already have preexisting experience working with.
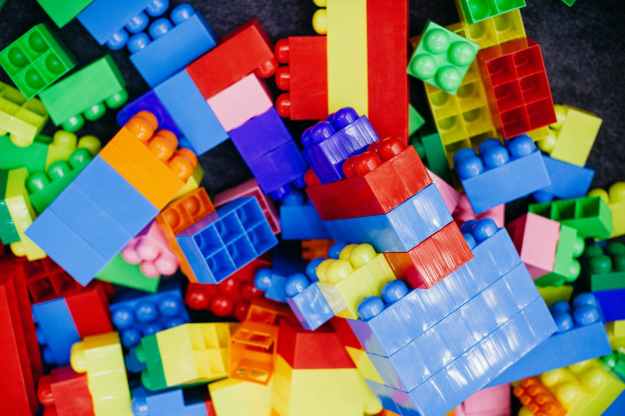
This is why I find the Breakable Toys pattern, described in the book Apprenticeship Patterns: Guidance for the Aspiring Software Craftsman as a way to work within a “safe space for failure” to be an interesting and largely relevant idea in the context of software development. The pattern describes the practice of building “breakable toys”, these being smaller, self-contained projects making use of the same toolsets you might use during professional or otherwise high-stakes development.
The pattern suggest building simple games or programs as a way of learning a new programming language. Building simple games such as Tetris or Checkers in order to get to grips with the language seems like it would be a fun experience, I think game development is an extremely interesting field, and focusing on your interests is an effective way to speed up familiarization with a new language by making use of something fun and engaging as a sort of “practice project”.
I have always enjoyed the idea of self-building software; the idea of having a usable program or application which is self-built is appealing. Similar to how a woodworker might feel sitting in a rocking-chair hand built from their own shop, the idea of building something which is demonstrably useful, or even just as an experiment to see what happens is a great opportunity to express creativity and explore a new topic. The added benefit of experience and potential to learn something new makes it a worthwhile experience in my opinion.
In terms of putting this particular pattern into practice, my first course of action would most definitely be to make a few simple games and applications, an image editing program or simple web browser seem like reasonable small-scale projects to work on as a learning experience.
Building something out of personal interest can make learning the required skillset a relatively painless experience, as by the end of it you will likely have something which you can be proud of and enjoy for many years to come.
Text Referenced: https://learning.oreilly.com/library/view/apprenticeship-patterns/9780596806842/ch05s03.html
From the blog CS@Worcester – CodeRoad by toomeymatt1515 and used with permission of the author. All other rights reserved by the author.